How To Improve Disinfection Efficiency In Facilities begins with a practical question: are surfaces truly disinfected, or merely wiped?
The World Health Organization’s 2022 Global Report on Infection Prevention and Control reports that healthcare-associated infections affect approximately 7 in 100 patients in high-income countries. The estimate rises to 15 in 100 patients in low- and middle-income countries. These figures show why facility hygiene requires more than visible cleanliness.
Dr. Charles P. Gerba, a renowned environmental microbiologist, has warned, “The average desk has 400 times more bacteria than a toilet seat.” His observation reinforces an uncomfortable point. High-touch surfaces often receive less attention than bathrooms. Door handles, elevator buttons, reception counters, and shared keyboards can become repeated contact points.
Effective programs combine experience, chemistry, timing, and verification. The CDC recommends cleaning surfaces before disinfection because organic soil can reduce disinfectant performance. Product labels also specify contact time. A surface may look wet, but it may not remain wet long enough to work.
Facility teams should map high-touch areas, standardize dilution procedures, and train workers through visible demonstrations. ATP testing, fluorescent markers, and audit records can reveal missed areas. Results should guide improvements, not punish staff.
Real facilities are messier than protocols. Supplies run out. Staff change shifts. Some assumptions fail.
This guide explores How To Improve Disinfection Efficiency In Facilities through evidence-based workflows, safer product selection, staff accountability, and measurable verification. The goal is not perfect appearance. It is consistent risk reduction, repeated correctly, even during busy hours.
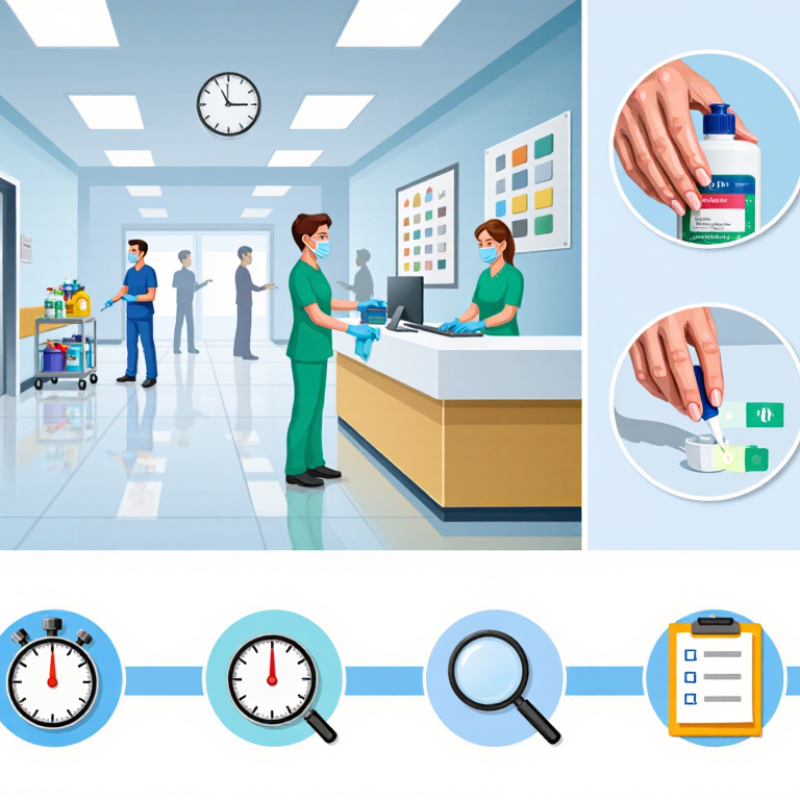
How to Improve Disinfection Efficiency in Facilities
A 3-log reduction means removing at least 99.9% of viable microorganisms. It does not mean complete sterilization. The target should be written into the facility’s disinfection procedure. Define the surface, organism, testing method, and acceptance limit. A vague goal creates inconsistent work. A measurable goal supports reliable decisions.
Effective disinfection depends on preparation. Remove visible soil before applying the disinfectant. Organic material can reduce performance. Confirm the correct concentration with a verified measuring method. Keep the surface visibly wet for the full contact time. A dry surface may look clean but fail the microbial target. Room temperature, surface type, and airflow can also affect results. Staff should follow training records, wear suitable protective equipment, and document every treatment.
Verification should use a validated quantitative method, not appearance alone. Swab selected high-touch areas, such as door handles, rails, and control panels. Compare results before and after treatment. If the reduction is below 3-log, investigate coverage, contact time, dilution, sampling, and cleaning technique. Do not blame the product immediately. The process may be the weak point. In practice, rushed application is a frequent problem. One missed edge can affect the result. Repeated testing can reveal patterns, although sampling itself has limitations. A thoughtful program accepts imperfect data and improves its method over time.
Facility disinfection improves when product selection begins with risk, not convenience. Choose an EPA-registered disinfectant whose label names the target pathogen or organism group. A product effective against bacteria may not control norovirus or fungal spores. Read the current label carefully. It is the controlling instruction. In occupied clinics, schools, and production areas, I have seen rushed spraying create false confidence. Staff wiped too soon. The surface looked clean, but the required contact time had not passed. Keep the surface visibly wet for that labeled period, and use a timer when the interval is difficult to judge.
Match the formula to the material. Stainless steel, sealed countertops, painted walls, plastic rails, and electronics can react differently. Check whether the label permits use on porous or nonporous surfaces. Test an inconspicuous area when compatibility is uncertain. Damage can become an infection-control problem if peeling paint or cracked plastic traps soil. Remove visible soil before disinfection unless the label says otherwise. Organic matter can reduce performance. Use the correct dilution, water quality, and application method. Never mix products. Familiar routines still fail when a concentrated solution is guessed instead of measured.
Train workers to identify the pathogen claim, surface direction, contact time, protective equipment, and disposal instructions. Keep labels accessible at the point of use. Record the product lot, dilution, application time, and employee training. Review incidents without blame. A missed contact time may reflect poor workflow, not carelessness. Recheck high-touch areas after shift changes. When evidence is limited, document the uncertainty and seek qualified infection-control advice.
Control Concentration, Temperature, and Label Contact Time for Effective CT
Effective disinfection depends on CT: disinfectant concentration, water temperature, and label contact time. Changing one variable can weaken the entire process. In facility inspections, I often find a correct product used under incorrect conditions. That difference is easy to miss.
When preparing a solution, measure concentration with a suitable test method, not by appearance. Record the result, temperature, and time on the cleaning log. Cold water can slow chemical action, while excessive heat may damage surfaces or increase worker exposure. Follow the product label and site procedures for the permitted temperature range.
Keep the surface visibly wet for the full label contact time. Contact time begins when complete coverage is achieved, unless the label states otherwise. Do not wipe immediately because the area looks clean. On textured floors, drains, and equipment joints, coverage is often uneven. Use a timer when timing matters. Small details count.
Before routine use, check whether soil, hardness, or organic residue affects performance. Clean first when required; disinfectant is not a substitute for removing dirt. Supervisors should review logs and verify readings periodically. A quick test can reveal dilution errors that written records miss. Still, no system is perfect. If results remain inconsistent, revisit mixing, temperature control, surface coverage, and staff training.
Disinfection works best when the surface is clean enough for the product to reach it. Remove visible soil first, then use a fresh cloth or wipe and steady friction across the area. A quick pass can miss dried residue around a handle or the underside of a rail. Slow down at seams, buttons, and other spots touched throughout the day.
Keep the surface visibly wet for the contact time stated on the product label. If it dries too soon, apply more solution as directed; do not assume a faint sheen means adequate coverage. Work from cleaner areas toward dirtier ones, and change or refold the cloth when it becomes soiled. One cloth for every surface is not a sound shortcut. It can spread contamination.
A simple routine helps: wipe the full face of a door handle, including its neck and base, then check it under good light. Use the same deliberate coverage on switches, shared equipment, and faucet controls. Staff may need brief training and enough supplies to avoid rushing between rooms. The awkward truth is that busy teams sometimes hurry. Watch a real cleaning round, note where surfaces dry unevenly, and adjust the method without skipping the label’s instructions.
Apply friction and full wetting across every high-touch surface.
How to use this workflow: Work through each step on every high-touch surface. Follow the disinfectant label for application directions and contact time, and keep the surface visibly wet for the full labeled duration. The chart shows process steps, not measured effectiveness or time estimates.
How to Improve Disinfection Efficiency in Facilities
Disinfection is only as reliable as the cleaning that comes before it. Track adenosine triphosphate (ATP) readings on high-touch surfaces, such as door handles, bed rails, and tap levers. ATP results show residual biological material, not specific pathogens, so treat them as a rapid process check—not proof of sterility. Set site-specific limits, record readings by location, and review trends after staff, products, or routines change. A single low reading can reassure too much.
Pair ATP monitoring with periodic culture-based testing. Cultures can detect viable organisms, but results take longer and depend on careful sampling and interpretation. The CDC’s 2003 Guidelines for Environmental Infection Control in Health-Care Facilities describe environmental sampling as useful for defined questions, not routine testing of every surface. Use cultures when investigating persistent contamination or validating a revised process. In a 2010 study across 36 hospitals, researchers found that only 47% of targeted surfaces were cleaned at baseline; a structured intervention raised thoroughness to 82% (Carling et al., Infection Control & Hospital Epidemiology). That gap is a reminder: written protocols do not guarantee consistent practice.
Tips: Swab the same marked areas at consistent times. Compare ATP trends with culture results and cleaning logs. If readings stay high, observe the task in real time; missed edges or rushed contact time may explain more than a weak disinfectant. Review results with frontline staff. The pattern may be inconvenient, but it is useful.
Example monitoring dataset for demonstrating trend review. ATP readings are in relative light units (RLU); results vary by luminometer, test site, and sampling method. Culture results are aerobic colony counts in CFU per 100 cm². Action limits should be established and validated locally; no universal ATP or culture threshold applies to every surface or facility.
| Monitoring period | Area and surface | Cleaning and disinfection check | ATP before cleaning (RLU) | ATP after cleaning (RLU) | Culture after cleaning (CFU/100 cm²) | Trend and follow-up |
|---|---|---|---|---|---|---|
| Week 1 | Patient room — bed rail | Product contact time not consistently documented | 1,240 | 310 | 18 | Review wiping coverage and contact time |
| Week 2 | Patient room — bed rail | Staff refresher on complete surface coverage | 1,110 | 190 | 12 | ATP decreased; continue routine monitoring |
| Week 3 | Patient room — bed rail | Contact time observed and documented | 980 | 92 | 4 | Improved ATP and culture results |
| Week 4 | Patient room — bed rail | Standard procedure maintained | 1,030 | 105 | 3 | Improvement sustained; continue periodic cultures |
| Week 1 | Shared treatment area — worktop | High-touch edges missed during some cleaning rounds | 860 | 270 | 14 | Reinforce edge-to-edge wiping technique |
| Week 2 | Shared treatment area — worktop | Cleaning checklist updated to include edges | 790 | 145 | 8 | ATP and culture counts decreased |
| Week 3 | Shared treatment area — worktop | Coverage spot-check completed | 820 | 76 | 2 | Results improved; maintain spot-checks |
| Week 4 | Shared treatment area — worktop | Routine process maintained | 760 | 88 | 3 | Low readings sustained across both methods |
| Week 1 | Restroom — faucet handle | Frequent-use surface; cleaning frequency reviewed | 1,560 | 420 | 26 | Assess cleaning frequency and technique |
| Week 2 | Restroom — faucet handle | Additional mid-shift cleaning round introduced | 1,480 | 230 | 15 | Post-cleaning ATP and culture counts decreased |
| Week 3 | Restroom — faucet handle | Mid-shift round verified by checklist | 1,390 | 118 | 7 | Continue checks during peak-use periods |
| Week 4 | Restroom — faucet handle | Routine and mid-shift rounds maintained | 1,420 | 96 | 5 | Improvement sustained; review monthly trends |
It means reducing viable microorganisms by at least 99.9%. It does not mean complete sterilization.
Specify the surface, target organism, testing method, and acceptance limit. Clear targets make results easier to assess.
Visible soil and organic material can reduce disinfectant performance. Clean first when the product label requires it.
Use a suitable measuring or test method, not visual guesses. Record the reading. It is easy to overlook.
Keep the surface visibly wet for the full label contact time. A timer helps with difficult intervals.
Cold water may slow chemical action, while excessive heat can damage surfaces or increase exposure. Follow the stated temperature range.
Use a validated quantitative method, such as swab sampling on handles, rails, or control panels. Appearance alone is not enough.
Review coverage, contact time, dilution, sampling, and cleaning technique. The process may be the weak point, not the product.
Record the product lot, dilution, application time, readings, and staff training. Records help reveal patterns, though they are not perfect.
How To Improve Disinfection Efficiency In Facilities starts with setting a clear, measurable goal: reducing the target microbial load by at least 3 logs, or 99.9%. Choose an EPA-registered disinfectant suited to both the pathogens of concern and the surfaces being treated. For reliable results, follow the product label for concentration and contact time, and account for temperature conditions that may affect performance. The surface must remain visibly wet for the full required contact period.
Thorough application matters as much as product selection. Use friction where appropriate and ensure complete coverage of every high-touch area, including edges and frequently missed spots. Track performance through routine ATP testing and review trends over time, while using periodic culture-based testing to provide additional verification. Together, these steps create a consistent process that helps facilities identify gaps, improve daily practices, and sustain effective disinfection.

Dextra Light